More AI Slop; AI Upscaling Video Game Characters

I’m learning new stuff every day when it comes to AI and image generation. Today I was working on upscaling using Flux.

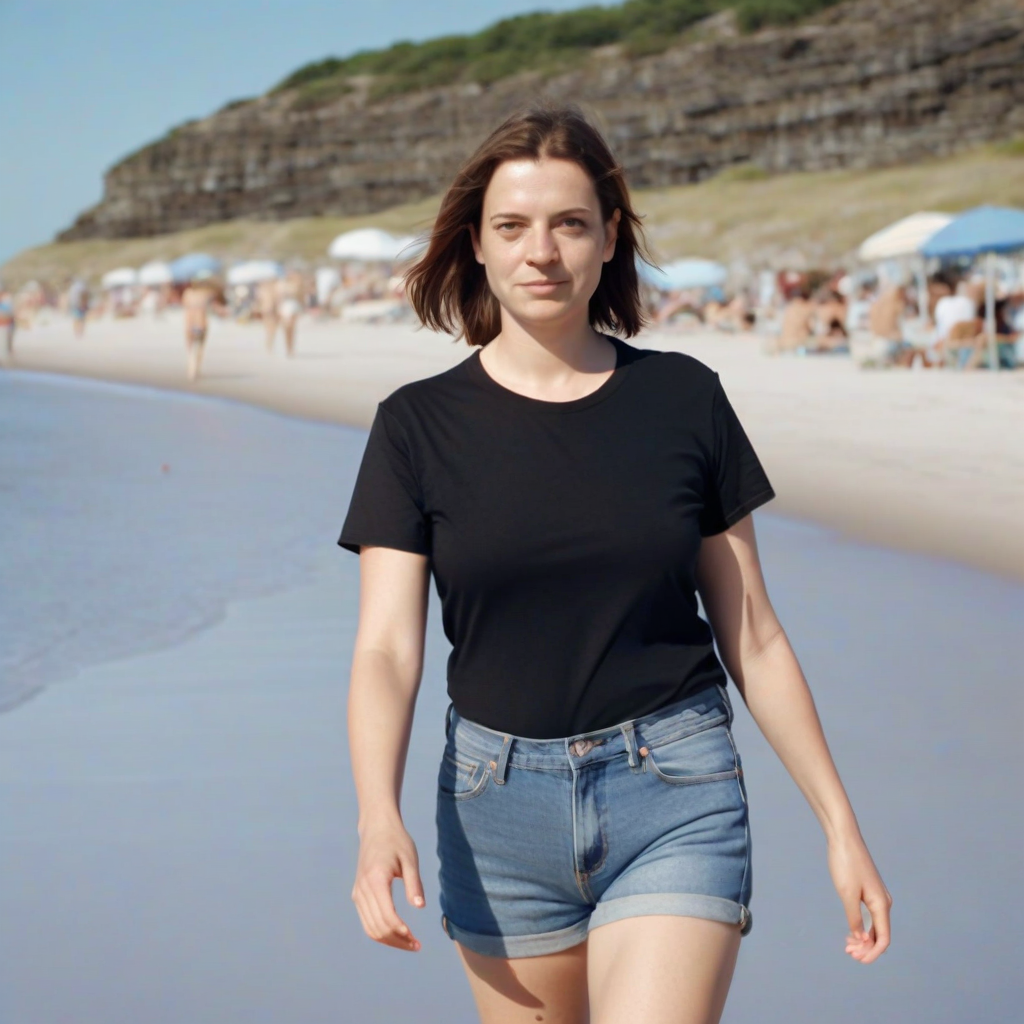
I started with this image of a character from Crystal of Atlan. It’s just a cropped screenshot I took while playing:

screenshot of character from Crystal of Atlan
Partial screenshot from Crystal of Atlan

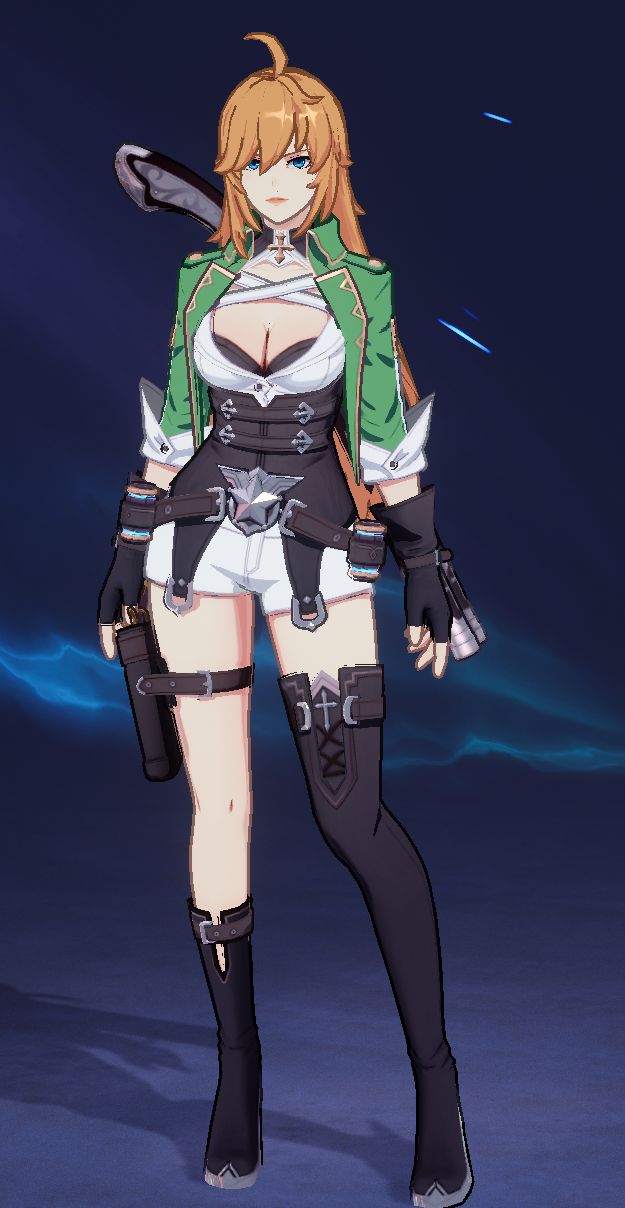
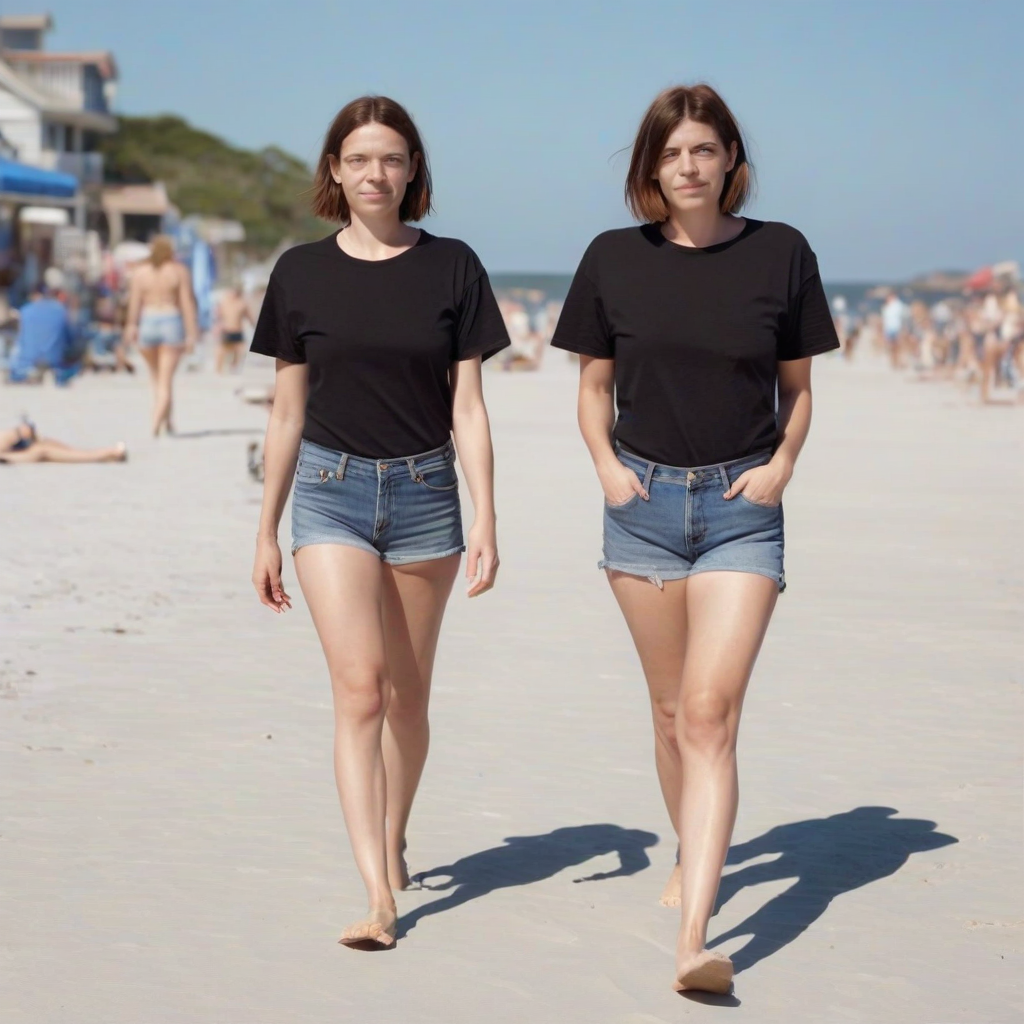
It’s pretty rough and I’m sure there are non-AI tools out there that you could use to sharpen things up and get a very accurate version without the pixelation. The problem with AI upscaling is that the AI has a ‘mind’ of its own and you probably won’t manage to get exactly the same image. I am using an Image 2 Image workflow where I start with the original image. Here’s what I got doing that.

AI upscaled image of the same character
Upscale using a pretty generic prompt

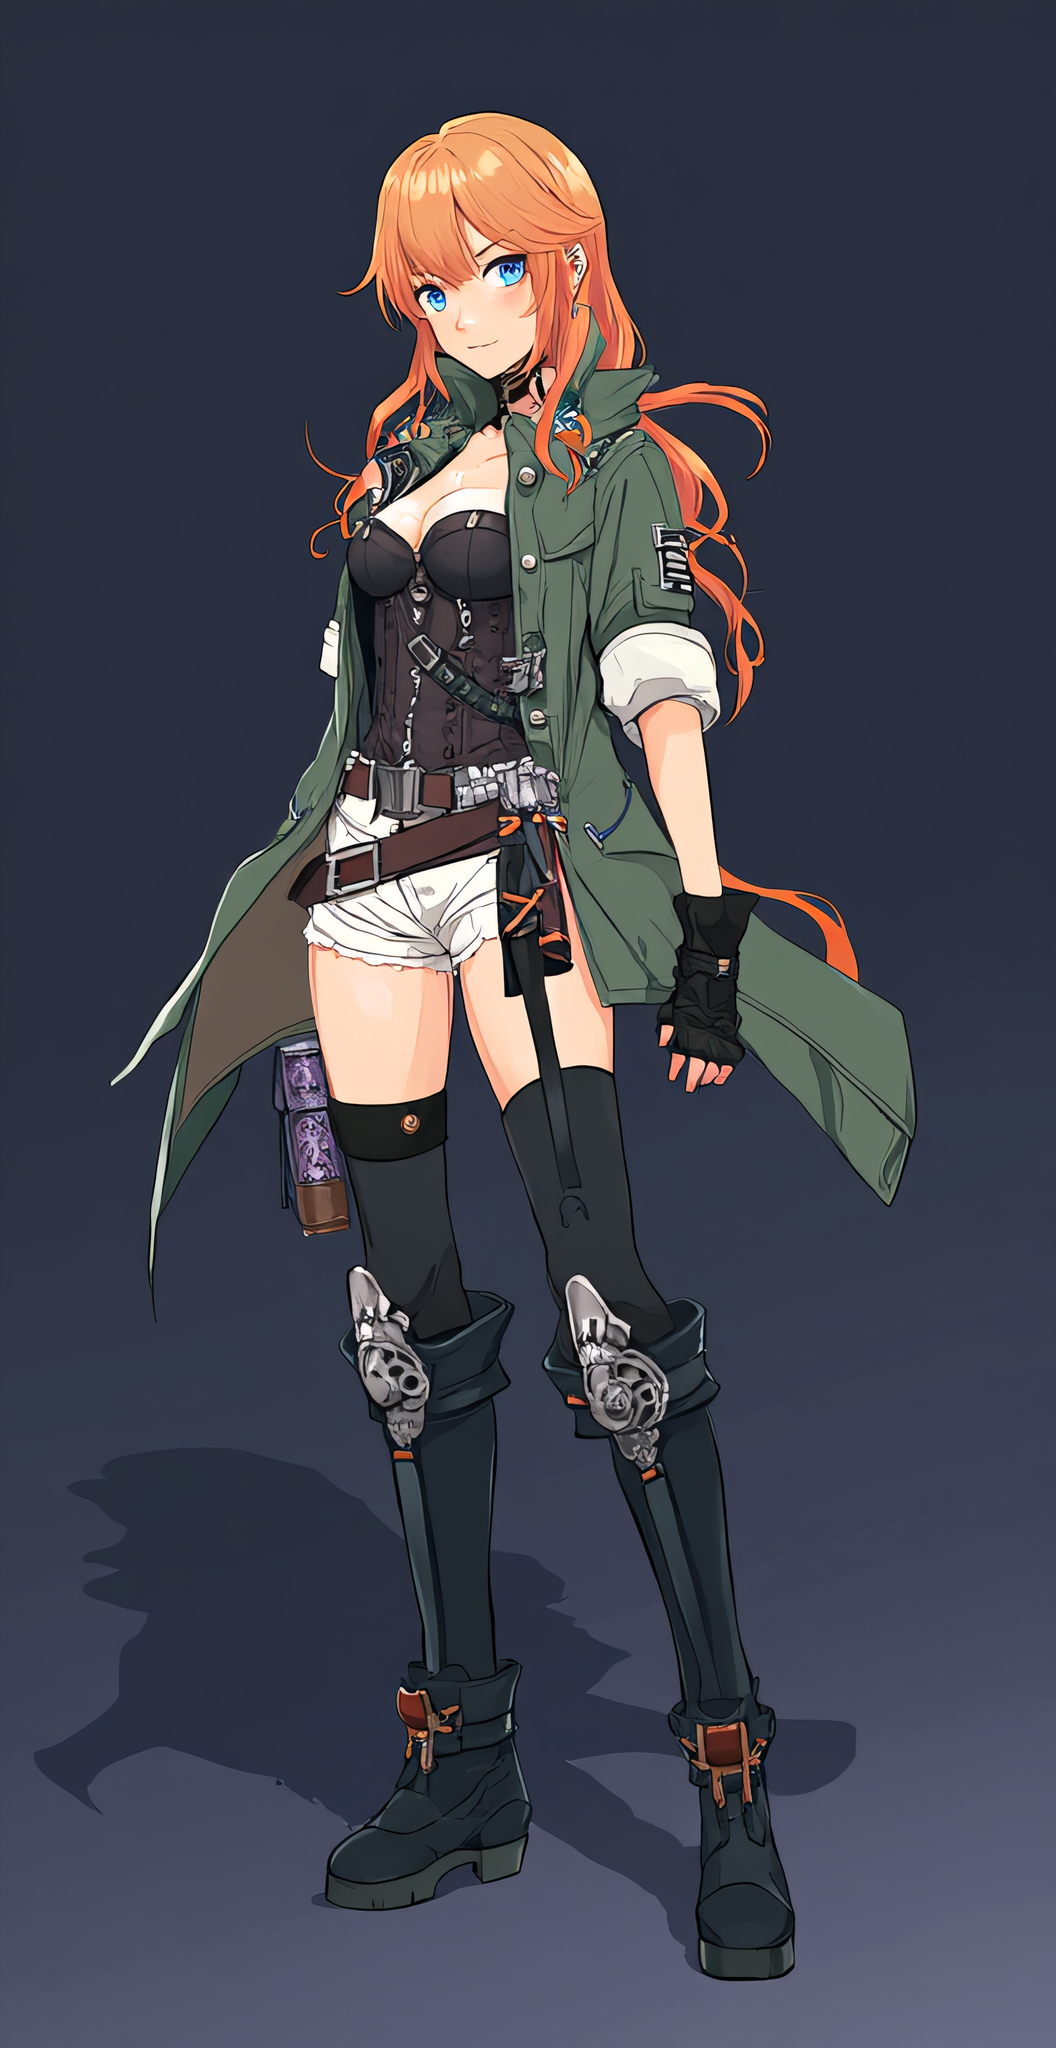
This was OK for a first attempt but there are some pretty significant changes, including the fact that we lose the weird anime game trope of 1 bare leg, 1 clothed leg.

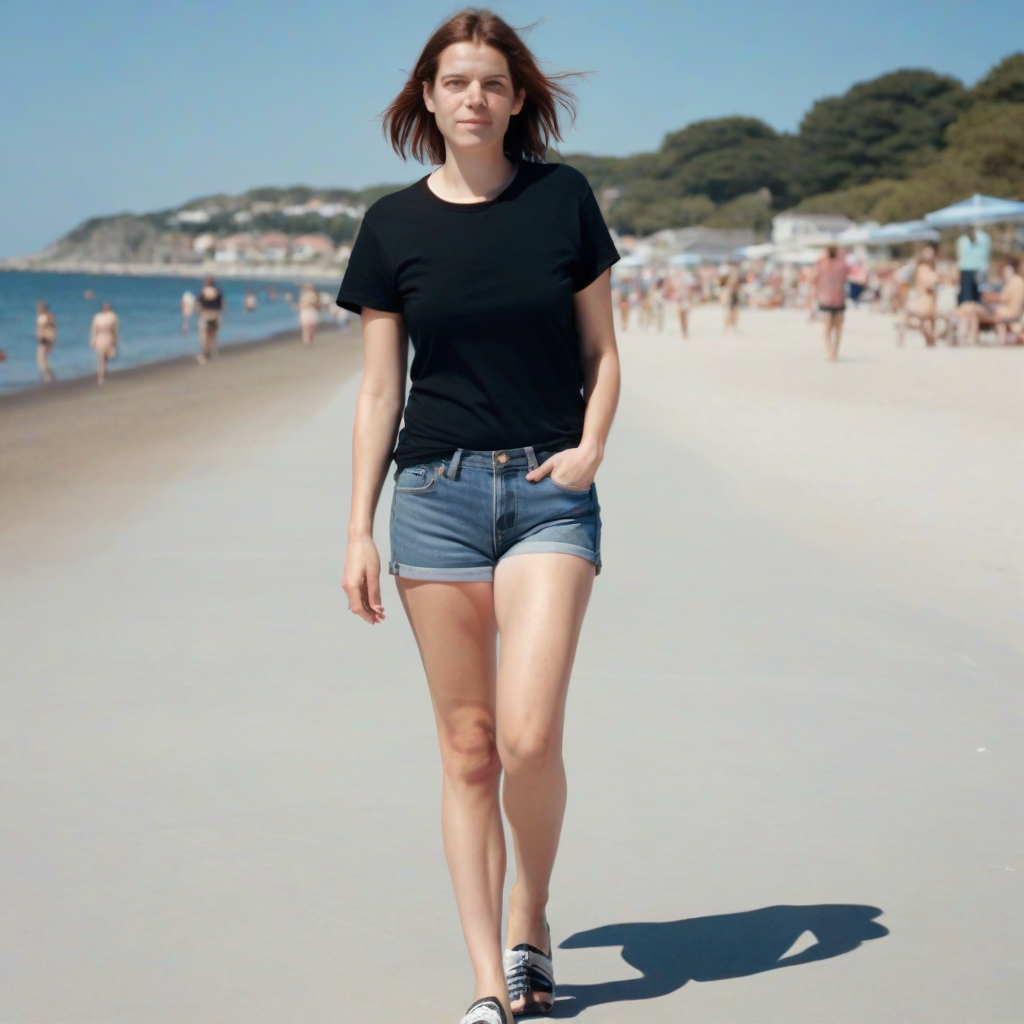
So for the next attempt, I cheated. I uploaded the original image into Chat GPT and asked it for a Flux AI prompt that would generate the character. After a brief back and forth I ended up with this:

full body anime-style female character, standing in a heroic pose, mid-20s with long orange-blonde hair, blue eyes, wearing a green military-style jacket with rolled-up sleeves, black corset with silver details, white shorts, black thigh-high boots with asymmetrical design, black leather gloves, utility belts with pouches and a holster, futuristic fantasy adventurer aesthetic, detailed ornate belt buckle, confident expression, stylized fantasy background, sharp cel-shaded anime rendering, highly detailed character design. green jacket with gold trim, white shorts, black thigh-high boots with one leg fully covered and one leg bare, chest harness straps. character reference sheet, centered, full body

upscale with prompt
This time I used both the image and a long prompt

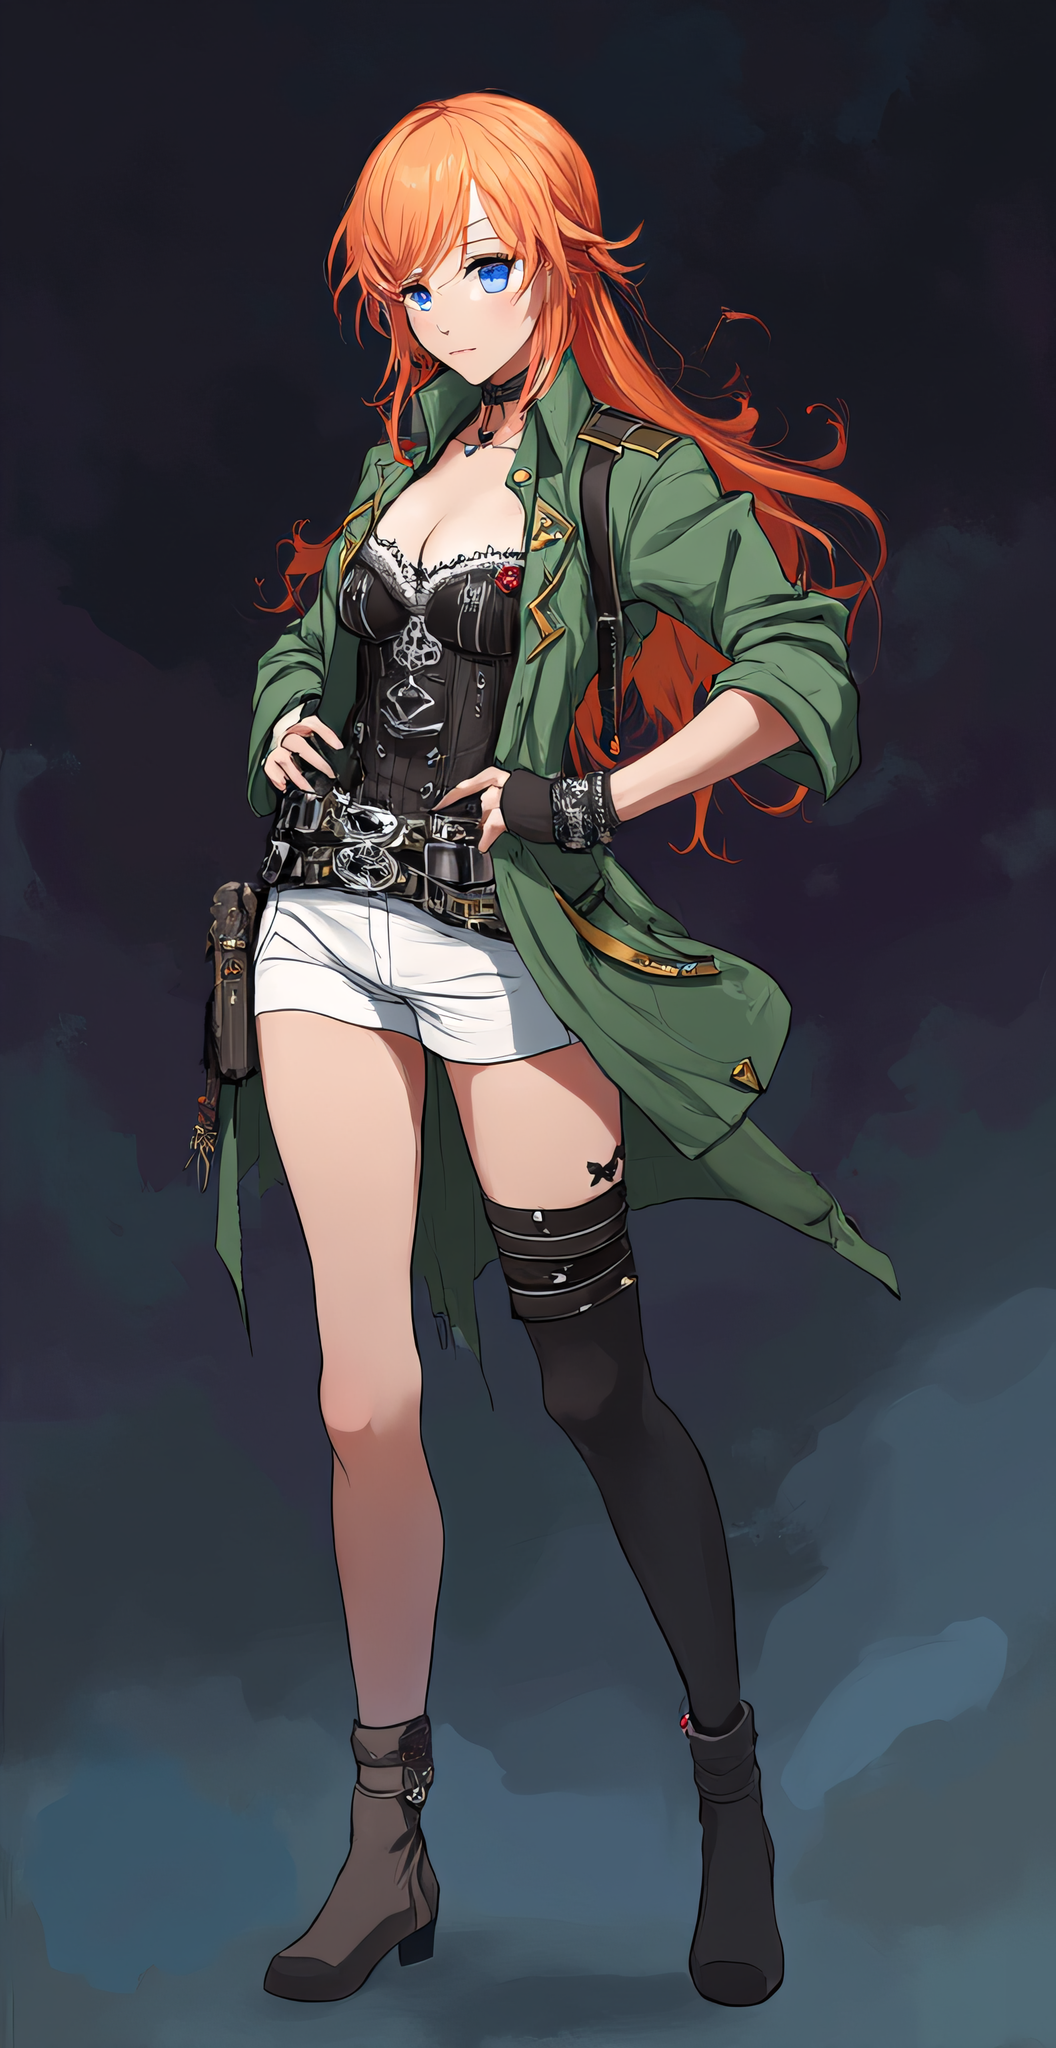
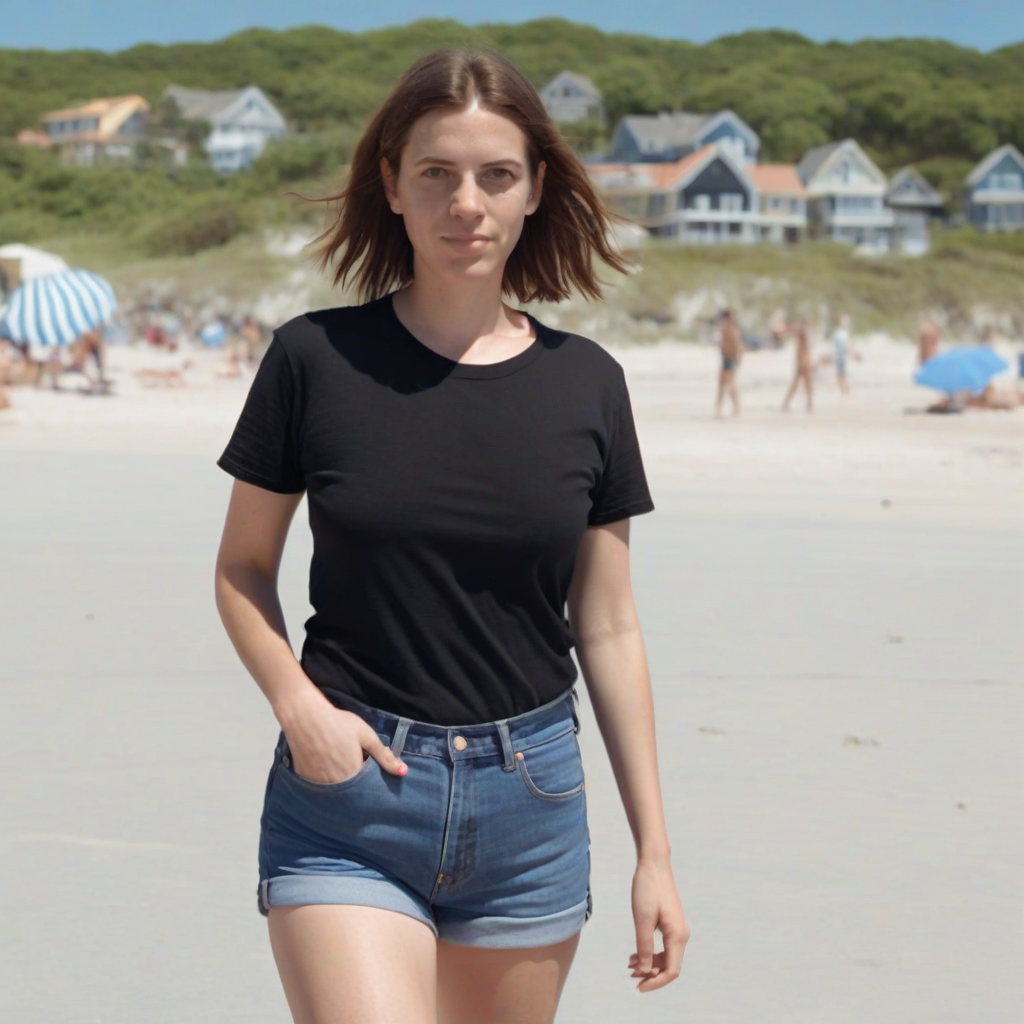
So now I have the legs right, but there are still a lot of differences. I tried to get it a little closer, not sure I really did. I made her boobs bigger so I guess that’s something. LOL. And I added a ‘digital painting’ to the prompt to give it a little something-something. Here’s my last attempt, with the prompt now being:

digital painting full body anime-style female character, large breasts with cleavage, standing in a heroic pose, mid-20s with long orange-blonde hair, blue eyes, wearing a green military-style jacket with rolled-up sleeves, black corset with silver details, white harness over the coret, white shorts, belt buckle with a silver star, black thigh-high boots with asymmetrical design, black leather gloves, utility belts with pouches and a holster, futuristic fantasy adventurer aesthetic, detailed ornate belt buckle, confident expression, stylized fantasy background, sharp cel-shaded anime rendering, highly detailed character design. green jacket with gold trim, white shorts, black thigh-high boots with one leg fully covered and one leg bare, chest harness straps. character reference sheet, centered, full body

more tweaks, same image
Tweaking the prompt to try to get it closer, and now I have an exposed mid-drift!

After adding that last one to the post I noticed how bad the eyes were, so I threw a face detailer into the mix. I wasn’t sure WHERE to put it… pre or post upscale. And this is actually a 2-pass upscale so I could have even put it between the two. But I left it as the last step. Now her face looks better but I lost some of the asymmetry in the leggings, and now the hands are kind of screwy. Clearly I could spend a LOT of time tweaking and changing things, trying new combos to try to get her closer to the original, but for now I’m going to leave her at this point.

same image only with a face detailer pass
Throwing a Face Detailer pass into the mix

The image at the top of this post shows the workflow as it stands now. The thing that amazes me is that I actually understand most of it. I mean there are TONS of levers to pull and settings to tweak and I don’t claim to understand ALL of them, but I follow the general gist. I based the workflow off of one of the ones in this YouTube video; this person does great ComfyUI tutorials.

If you want to see my workflow for reals, snag the image at this link and drag it into Comfy:
https://dragonchasers.com/wp-content/uploads/2025/08/upscale2_with_face_00005_.png

The Devil is in the AI Generated Details

For my next AI nerd trick, I decided to look into Detailers. Here is how my layman’s brain understands what is going on, and if someone knows better and wants to educate me, I’d appreciate that.

So when your LLM starts generating an image it basically spreads its resources pretty evenly. So if you ask it for a close up view of a face it’ll probably give you a decent face. But if you go for a full body shot you might find the face doesn’t look that great. That’s because faces, to us human beans, are detailed and important, but they’re no more important to the AI than any other part of the image. A detailer fixes that by running the image through a second pass, using custom nodes to identify the face area, and then the AI gives just that face area all its juice. So basically you’re getting the details of a close-up, only it’s not a close up.

I’m probably like 90% wrong but that’s my noob’s understanding. Let’s look at some examples.

I’m using the juggernaut model (juggernautXL_v8Rundiffusion.safetensors), no Loras or anything, and a simple prompt:

1girl mid-30s, in a black t-shirt and denim shorts, walking towards the viewer Full body view. Beach scene, mid-day realistic, 35MM camera, amateur

I ran 4 copies. You can click on images to embiggen. I did not cherry pick anything here, just a straight honest test (which is why there are 2 people in one of the images… the AI decided on that)

Example 1

Example 1, No Detailer
Example 1, After detailer


Example 2
Example 2, no detailer. This one is really bad, maybe due to having 2 models?
Example 2, after detailing. Seems like the detailer found and fixed both faces


Example 3:
Example 3, No Detailer
Example 3, after detailing


Example 4:
Example 4, pre-detailing
Example 4, after detailing


Not all the ‘before’ images are terrible, but I feel like all the “after” images are better, but they don’t really change the look and feel of the face. We don’t get a glamour face pasted on an ordinary person walking down the beach.

But in some cases it makes a HUGE difference:

Look at the eyes of the girl on the right (our right) in the pre image. Something is not right! And again, the detailing didn’t make these people into supermodels, it just fixed the wonkiness.

There are detailers for hands, too so next step will be figuring out how to chain these. Or maybe just use an image as a prompt and fix things one by one. Not sure what the best move is, but that’s the fun of learning all this stuff. Oh and for you lovers of naughty images, I understand there are detailers for, ahem, other body parts as well. You might have to hunt around for those, though.

DIY stuff: All the nodes I used came from the ComfyUI-Impact-Pack and the ComfyUI-Impact-Subpact. Here are links for the BBOX model and the SAMS model. And while I hesitate to do this since I can’t know for sure that I’m doing this right, here’s the ComfyUI workflow I made. I’ve never shared one of these so I hope it doesn’t require all the weird nodes I’ve installed but don’t use in this workflow!

[Top image, as is obvious, is one of my tests. Model and prompt in text of post]

Weekend Projects

This past weekend was pretty unusual for me. I did almost no gaming and instead worked on a couple of personal projects, both of them AI based.

On Saturday I created a chatbot, similar to the ones on Character.ai. I used SillyTavern as the UI, KoboldCPP to do the text generation (after I failed to convince llama.cpp and SillyTavern to get along) and Sarah Storyteller as the model. Since I was just goofing around I grabbed a character from Chub.ai which is frequently NSFW so I won’t actually link to it. Folks create a lot of slash-fiction AI bots for their RPing I guess. No judgement!

SillyTavern is pretty cool. You can turn the whole thing into what feels like a visual novel by uploading 2D images of your character representing different moods and such. You can even add voice generation. I didn’t go nearly that far. Once I had it all working I sorta lost interest. It all did run locally, but it was slower than online versions like Character.ai. It was also more private which could be a boon but I’m not doing super spicey things with my AI chatbots so I am not really worried about that. I was just satisfied to get it all working. If you want to see a video on what SillyTavern can do, this is the one that got me interested. Despite the clickbait title, there’s nothing NSFW in the video (YouTube wouldn’t allow that) though maybe don’t watch it at work cuz anime girls.

Sunday, I burned my ComfyUI installation to the ground and built it back up again. I first started using the Portable version, then read that it’s better to manually install it. So I did that, got it working, then went crazy trying to follow a SUPER complex workflow that had me installing bunchs of Custom Nodes willy-nilly until I had such a mess that everything was slow and tended to crash. So another scorched earth re-install was called for.

What I have now is 2 environments, Comfy-Stable where everything in there is solid and tested and working, and Comfy-sandbox where I can dump in random custom nodes, loras, clip-doohickeys and the dozens of other crap you can shove into Comfy, and if things break I can just burn that install down without losing the ability to generate images in Stable. Each install uses it’s own MiniConda environment so, in theory, nothing I do in Sandbox can break Stable. I also put the really big models in a separate directory and symlinked them into the two environments so I didn’t have to double up on models that gorge themselves on SSD space.

So that wasn’t very sexy but it was pretty satisfying. Now I’m SLOWLY adding things to Sandbox to see what they do. Last night I was trying to get good results doing inpainting, which basically means using a mask to get the AI to regenerate just a specific part of an image. I got that working technically, in that I could feed it an image, mask off the part I wanted regenerated, and it would spit out an image with that part regenerated with SOMETHING, I just didn’t crack the code on getting it to generate anything that looked decent. So that’s still being learned.

A woman at a bar with a glob of weirdness where her martini should be
Example of inpainting gone wrong

What’s really neat about generating images locally is how fast it is to generate a bunch of images from the same prompt. As we all know you get a lot of random stuff in AI generated images and being able to put in a prompt that seems to have potential, then run it again asking it to make 20 images instead of 1, is really helpful. Yes you’ll probably throw 19 (or 20!) of those images away but all they cost is the electricity that your PC is using, so who cares, right?

Anyway the end result was that this was the best weekend I’ve had in a LONG time. Learning new stuff is fun. Generating images is fun. Tinkering in code and systems is fun. It’s all a nice break from gaming and I’m sure that when my gamer gene switches back on (and I KNOW it will) I’m going to have MORE fun gaming than I’ve had for a while, thanks to taking a break.

[Image at the top is the image I was trying to fix via inpainting. The prompt called for the woman to be holding a martini but instead she’s about to shot gun something that looks like a 40 oz Corona or something. Despite MANY attempts I couldn’t get the AI to put a martini in her hand..yet. Model is based on juggernaut-XL_v8]