For my next AI nerd trick, I decided to look into Detailers. Here is how my layman’s brain understands what is going on, and if someone knows better and wants to educate me, I’d appreciate that.
So when your LLM starts generating an image it basically spreads its resources pretty evenly. So if you ask it for a close up view of a face it’ll probably give you a decent face. But if you go for a full body shot you might find the face doesn’t look that great. That’s because faces, to us human beans, are detailed and important, but they’re no more important to the AI than any other part of the image. A detailer fixes that by running the image through a second pass, using custom nodes to identify the face area, and then the AI gives just that face area all its juice. So basically you’re getting the details of a close-up, only it’s not a close up.
I’m probably like 90% wrong but that’s my noob’s understanding. Let’s look at some examples.
I’m using the juggernaut model (juggernautXL_v8Rundiffusion.safetensors), no Loras or anything, and a simple prompt:
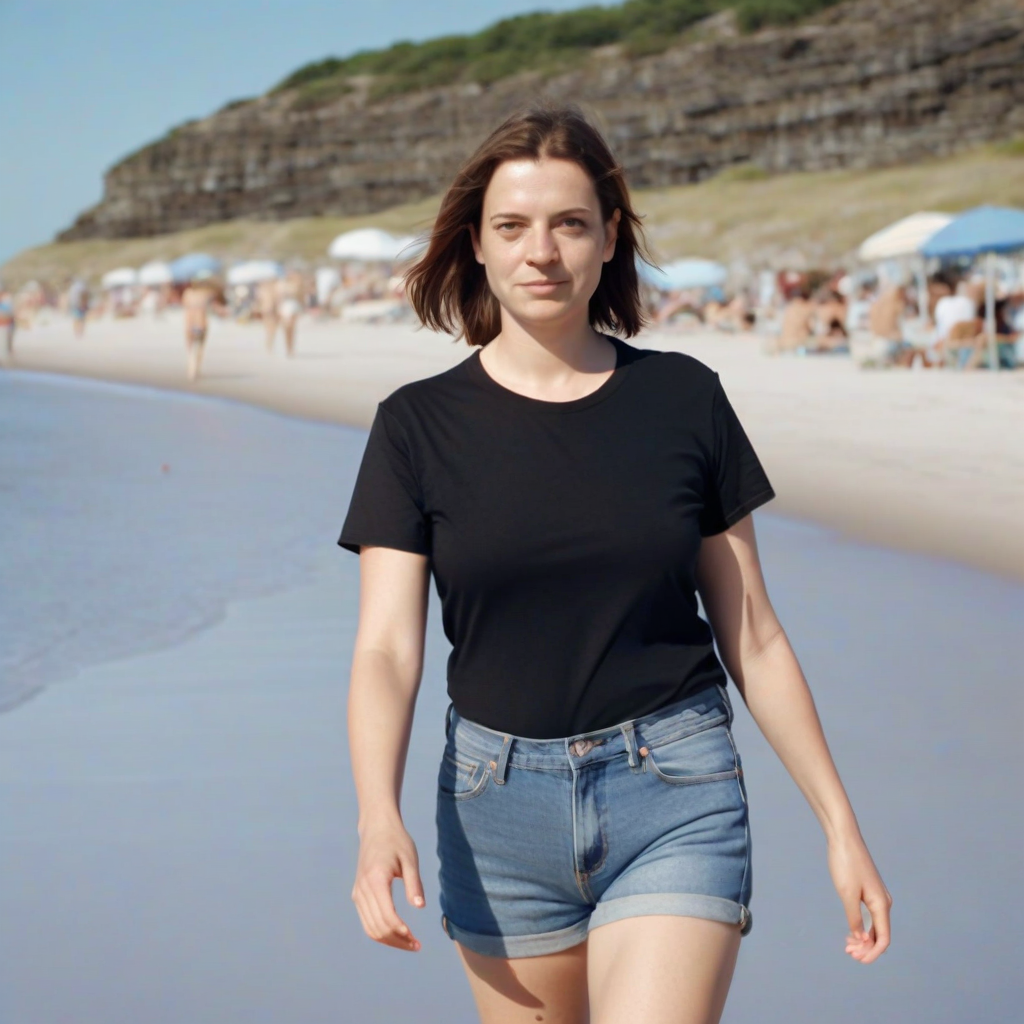
1girl mid-30s, in a black t-shirt and denim shorts, walking towards the viewer Full body view. Beach scene, mid-day realistic, 35MM camera, amateur
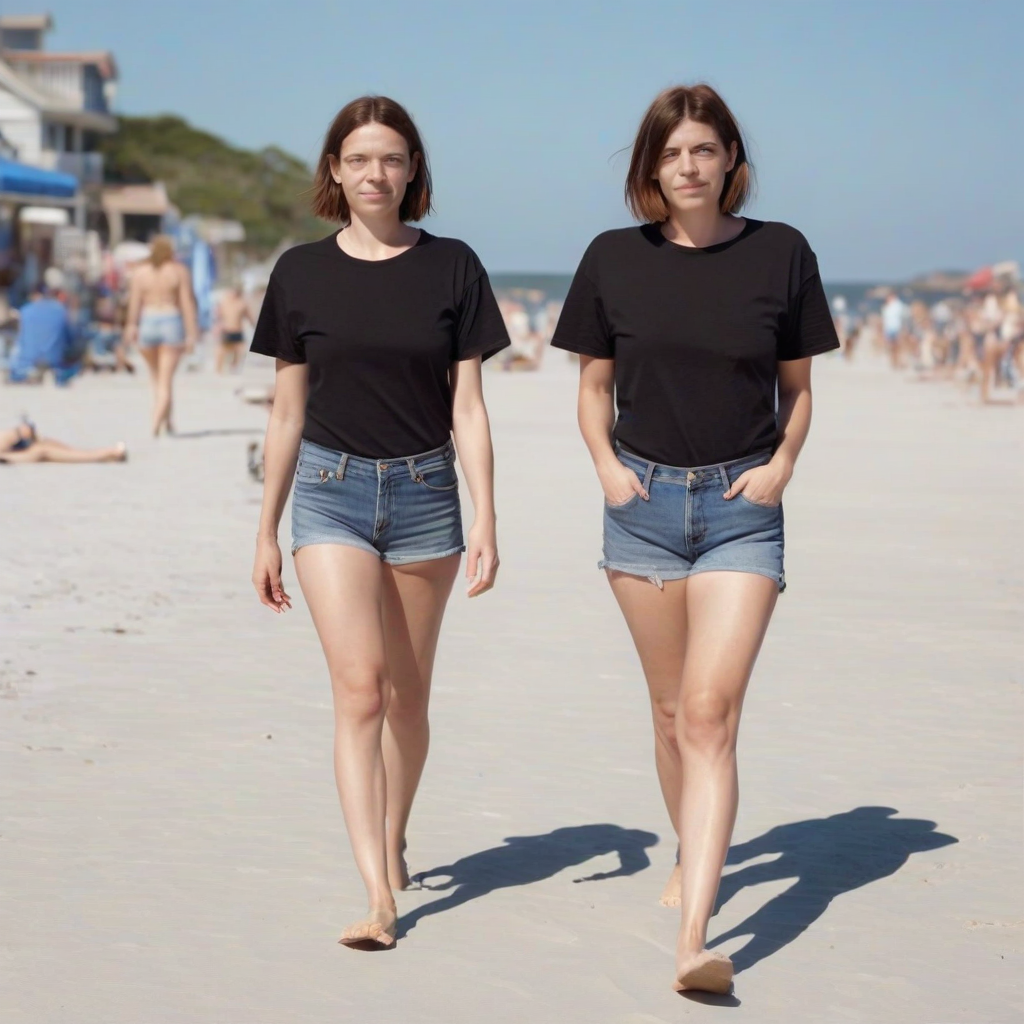
I ran 4 copies. You can click on images to embiggen. I did not cherry pick anything here, just a straight honest test (which is why there are 2 people in one of the images… the AI decided on that)
Example 1

Example 2

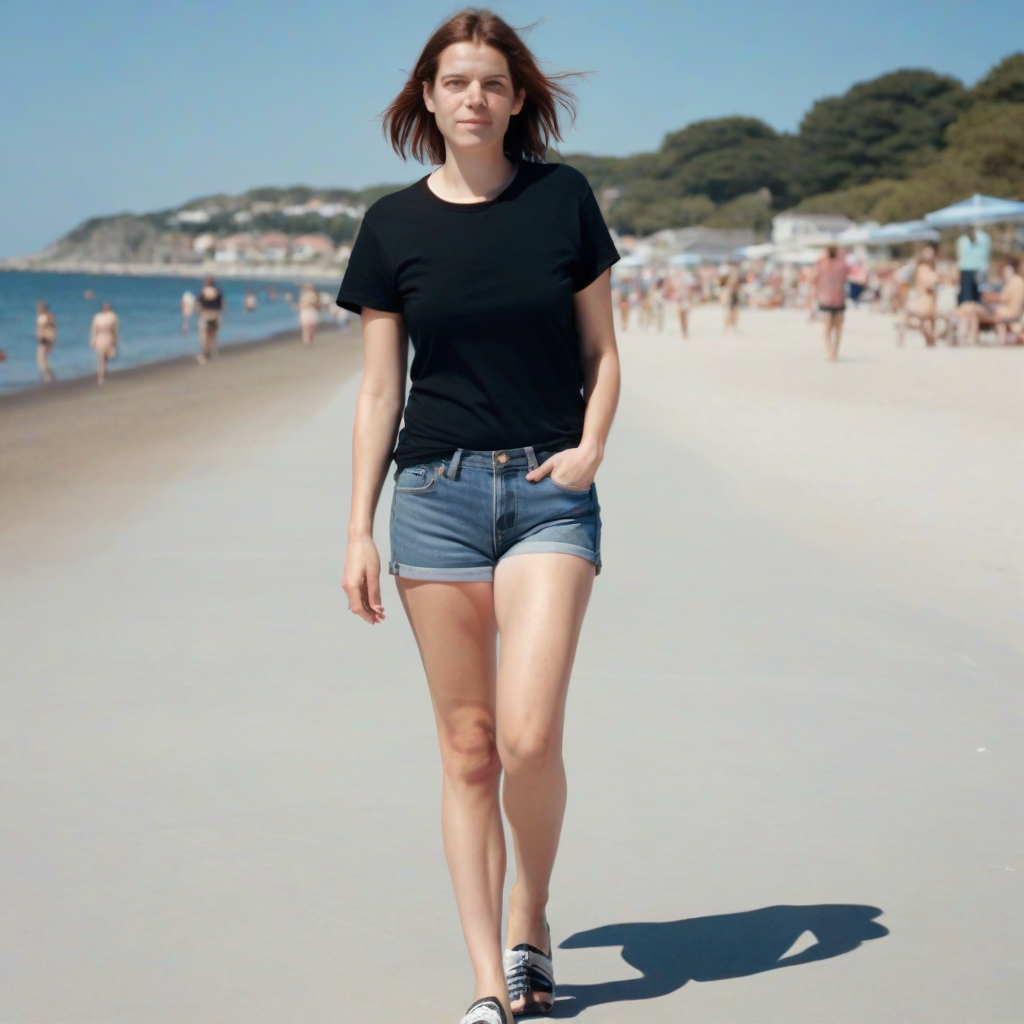
Example 3:

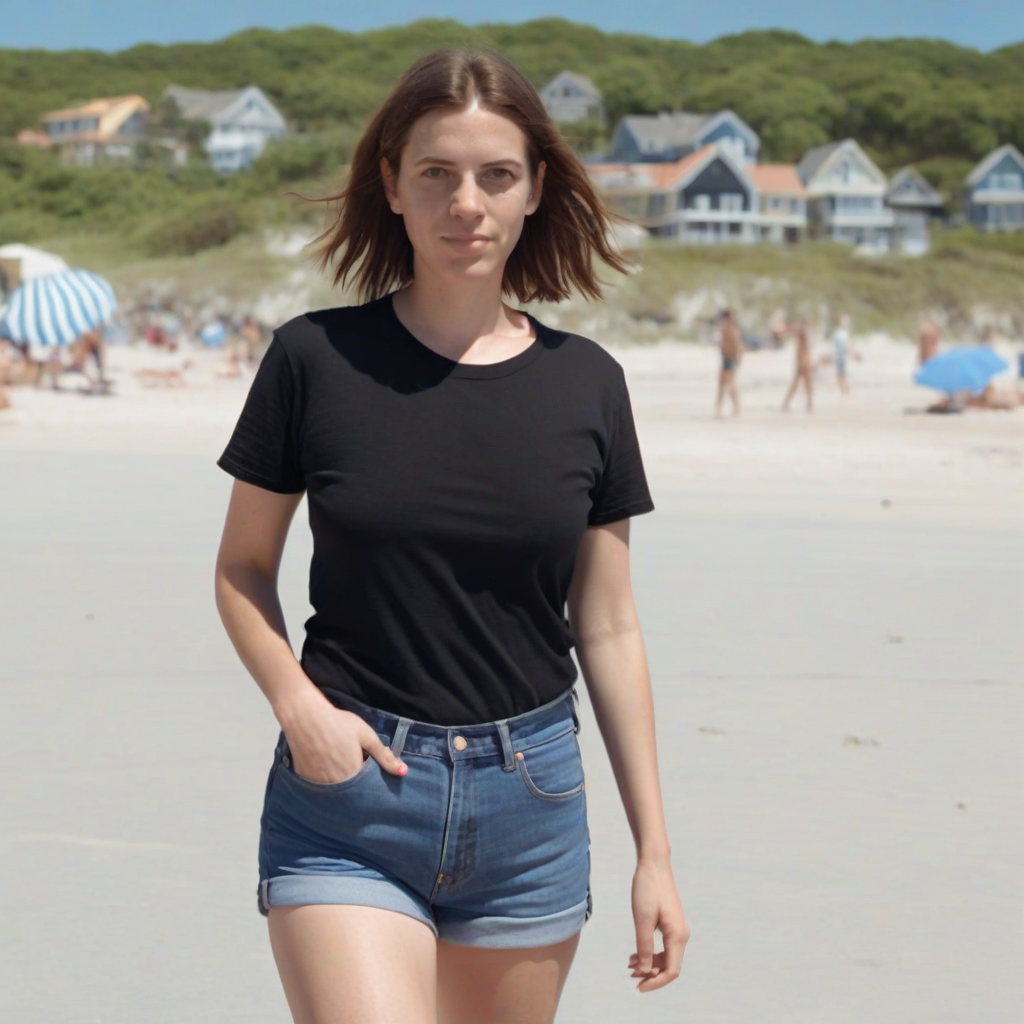
Example 4:

Not all the ‘before’ images are terrible, but I feel like all the “after” images are better, but they don’t really change the look and feel of the face. We don’t get a glamour face pasted on an ordinary person walking down the beach.
But in some cases it makes a HUGE difference:


Look at the eyes of the girl on the right (our right) in the pre image. Something is not right! And again, the detailing didn’t make these people into supermodels, it just fixed the wonkiness.
There are detailers for hands, too so next step will be figuring out how to chain these. Or maybe just use an image as a prompt and fix things one by one. Not sure what the best move is, but that’s the fun of learning all this stuff. Oh and for you lovers of naughty images, I understand there are detailers for, ahem, other body parts as well. You might have to hunt around for those, though.
DIY stuff: All the nodes I used came from the ComfyUI-Impact-Pack and the ComfyUI-Impact-Subpact. Here are links for the BBOX model and the SAMS model. And while I hesitate to do this since I can’t know for sure that I’m doing this right, here’s the ComfyUI workflow I made. I’ve never shared one of these so I hope it doesn’t require all the weird nodes I’ve installed but don’t use in this workflow!
[Top image, as is obvious, is one of my tests. Model and prompt in text of post]
With Comfy, anyone who wants to replicate your flow should be able to just download the image and load it into the comfy user interface and get the entire flow. LAST TIME I USED IT. IT WARNED YOU IF THERE WERE ANY NODES THAT WERE MISSING, BUT I SEEM TO REMEMBER THAT IT DID NOT DO A GOOD JOB OF AUTOMATICALLY DOWNLOADING THEM. BUT I HAVEN’T USED IT IN QUITE A WHILE SO I DON’T KNOW IF THAT GOT FIXED OR NOT.
Whoa! Sorry about the yelling. I have no idea why my keyboard did that.
LOL at the all caps.
There’s an add-on called ComfyUI Manager that has a custom node browser/downloader thingie now that works OK for a lot of stuff.
I think WordPress mangles the meta data when it resizes images so you can’t do the Comfy drag & drop.
So this
https://dragonchasers.com/wp-content/uploads/2025/08/Detailed_00010_-768×768.png
won’t work because WP has resized it to 768×768, but I THINK this will since it’s the ‘raw’ image:
https://dragonchasers.com/wp-content/uploads/2025/08/Detailed_00010_.png